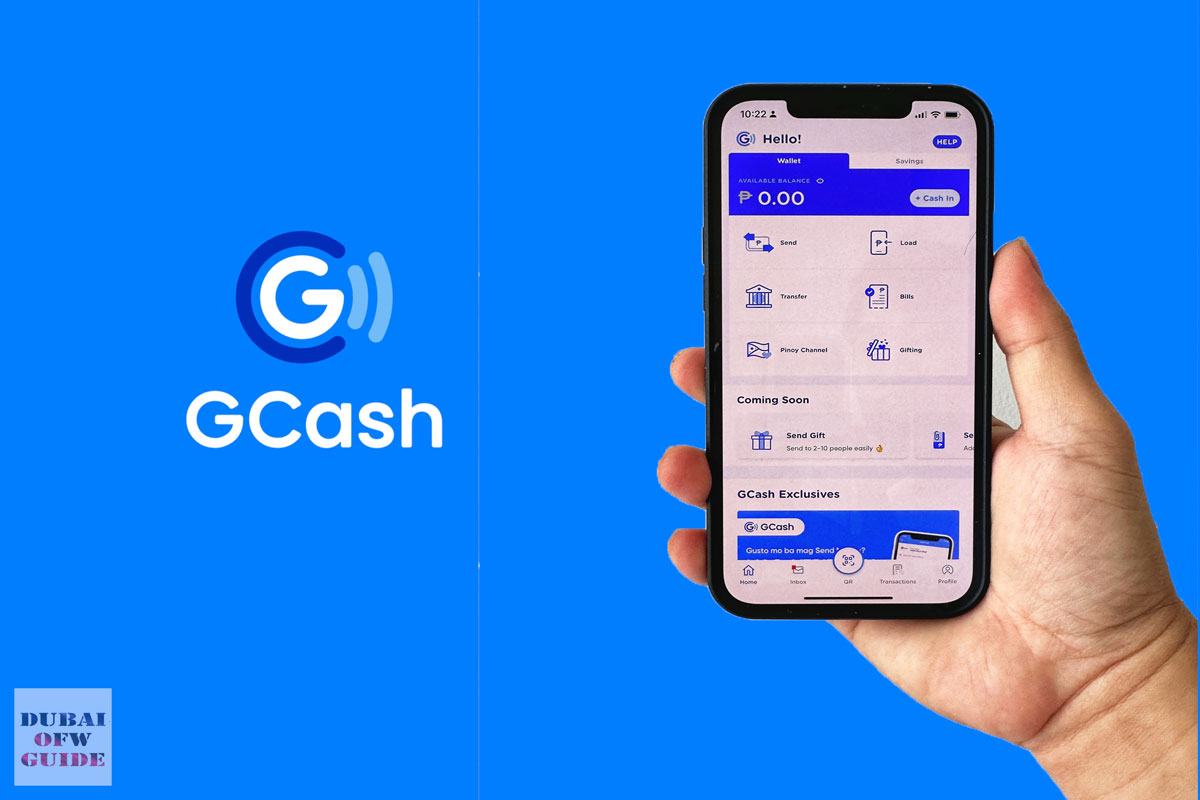
Guide on how to Register GCash for OFWs in Dubai
GCash is a popular mobile wallet in the Philippines that allows users to send money, pay bills, buy load, and perform various financial transactions conveniently through their mobile phones. For Overseas Filipino Workers (OFWs) in Dubai, GCash offers a seamless way to manage their finances and send money to their loved ones back home. In this article, we will guide you through the process of registering for GCash while in Dubai.
Related: GCash for OFWs in Dubai: A Comprehensive Guide to Seamless Financial Transactions
Requirements for Registering in GCash
Before you begin the registration process, make sure you have the following:
- Philippine or UAE Mobile Number: GCash registration requires a valid Philippine mobile number or UAE Mobile Number. If you don’t have one, you can obtain a prepaid SIM card from providers like Globe or Smart in the Philippines and Du or Etisalat in the UAE.
- Valid ID: You will need a valid Philippine government-issued ID for verification. Accepted IDs include a passport, driver’s license, or UMID.
- GCash App: Download the GCash app from the Google Play Store or Apple App Store on your smartphone.
Step-by-Step Guide to Registering in GCash
Step 1: Download the GCash App
- Open the Google Play Store or Apple App Store on your smartphone.
- Search for “GCash” and download the app.
- Once the app is installed, open it to begin the registration process.
Step 2: Register Your Mobile Number

- On the GCash app’s welcome screen, tap “Register.”
- Enter your Philippine or UAE mobile number. Ensure that you have access to this number as you will receive a verification code.
- Tap “Next” to proceed.
Step 3: Verify Your Mobile Number
- GCash will send a 6-digit verification code to the mobile number you provided.
- Enter the verification code in the app to verify your number.
- Tap “Submit” to continue.
Step 4: Provide Your Personal Information
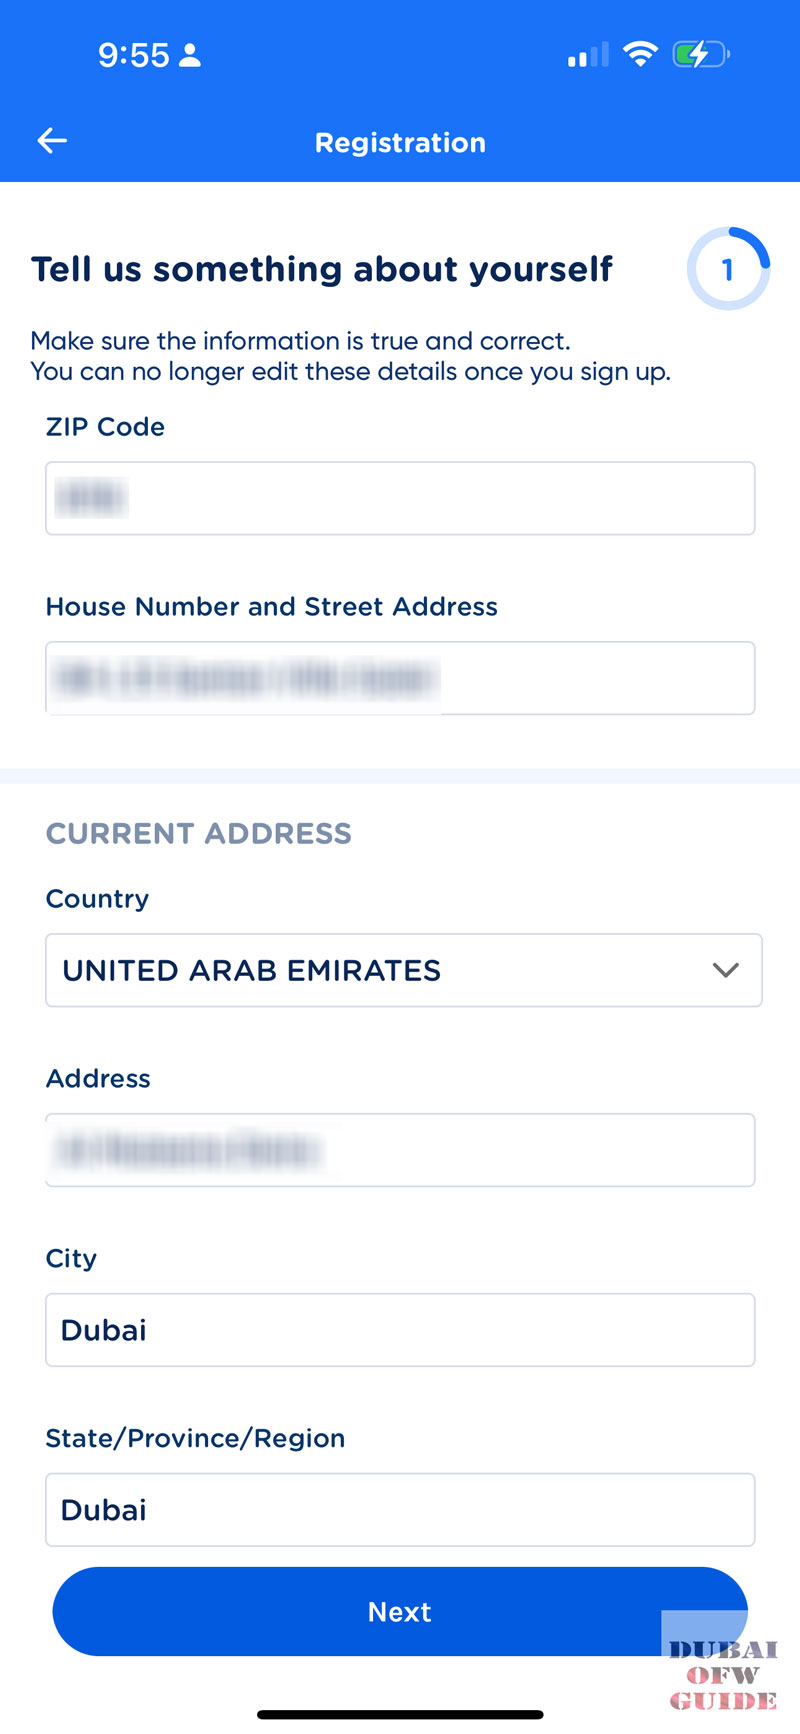
- Fill in the required personal information, including your full name, birthdate, and email address.
- Create a 4-digit Mobile Personal Identification Number (MPIN). This MPIN will be used to secure your GCash transactions.
- Tap “Submit” to proceed.
Step 5: Complete the KYC (Know Your Customer) Verification
To fully utilize GCash services, you need to complete the KYC verification process. Follow these steps:
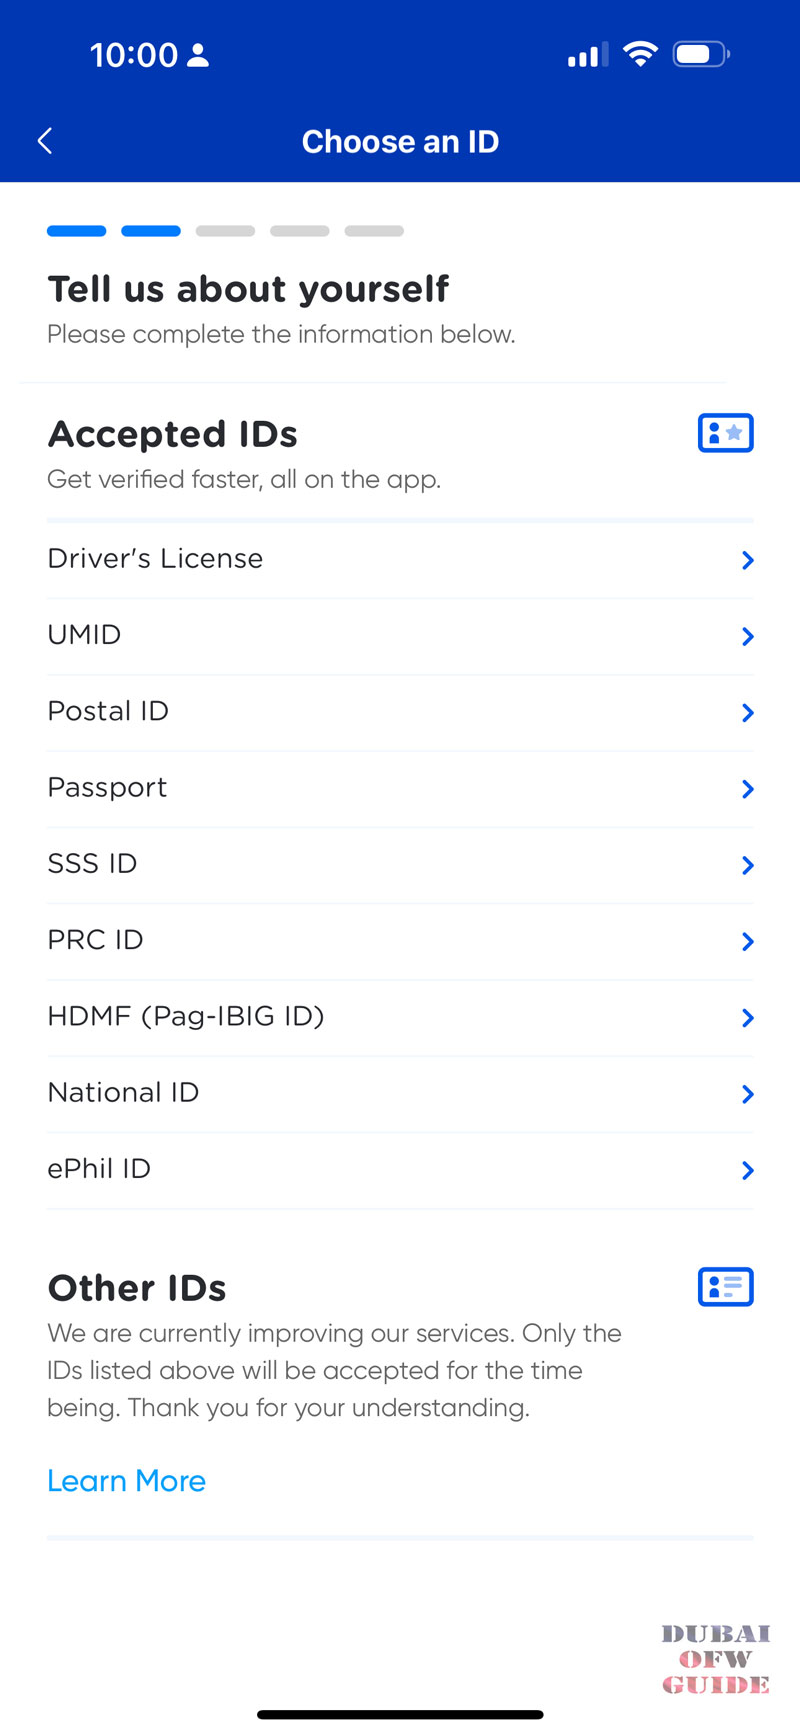
- Prepare Your Valid ID: Ensure you have a clear image of your valid Philippine ID ready.
- Upload Your ID: On the GCash app, tap “Verify Now” to start the KYC process. Follow the prompts to upload a photo of your valid ID.
- Take a Selfie: You will be asked to take a selfie to verify your identity. Make sure the photo is clear and matches the ID you provided.
- Submit: After uploading your ID and selfie, review the information and submit your application.
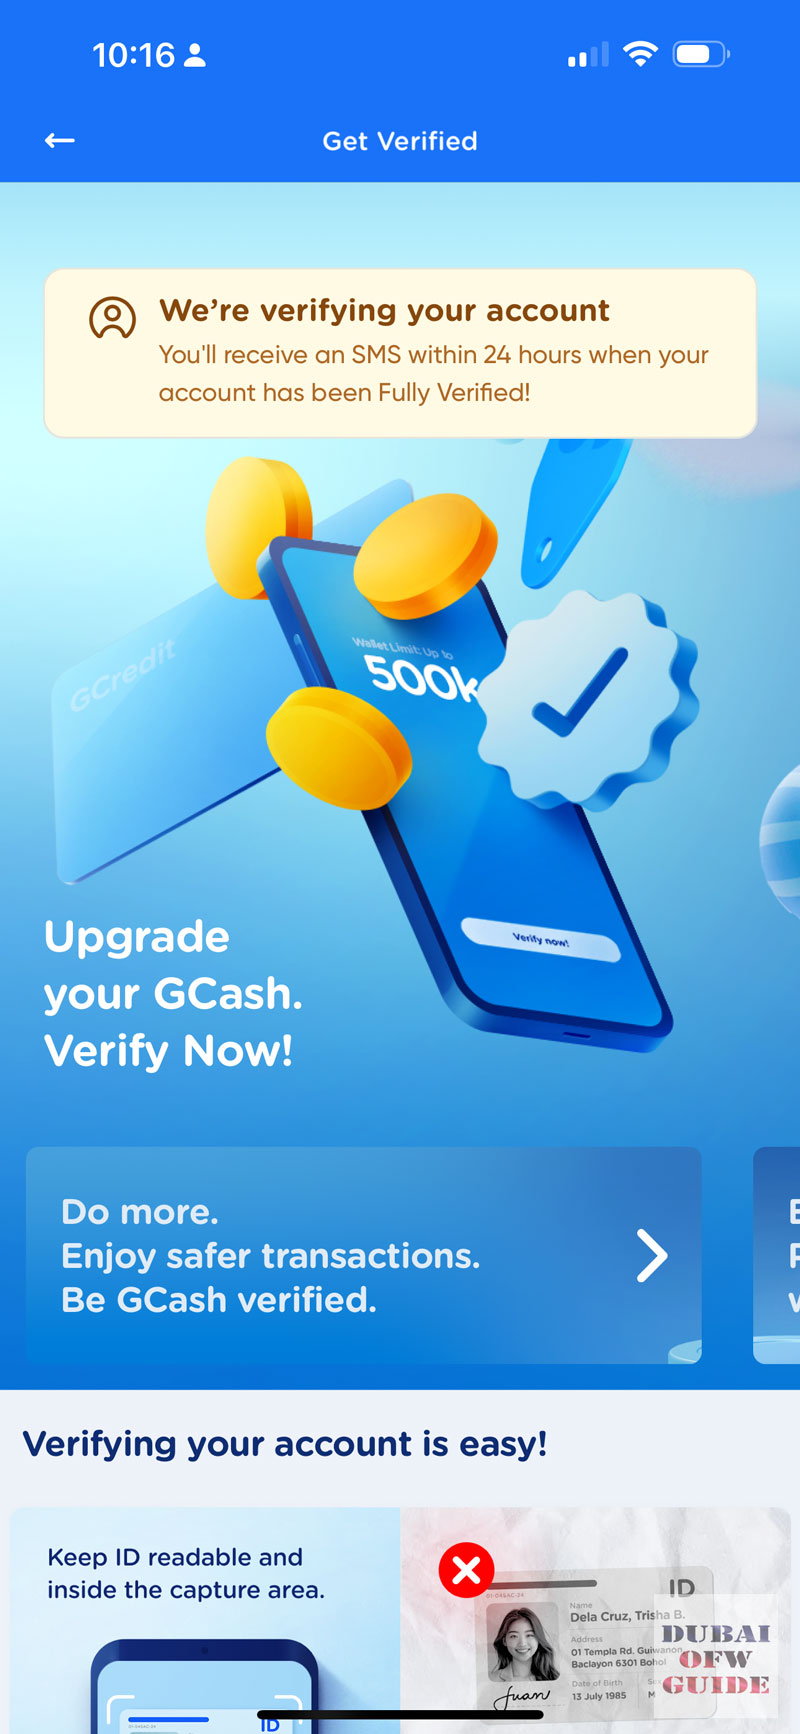
Step 6: Wait for Verification
GCash will review your submitted documents and information. This process may take a few minutes to a few hours. You will receive a notification once your account is fully verified and activated.
Using GCash in Dubai
Once your GCash account is verified, you can start using it to manage your finances from Dubai. Here are some key features you can utilize:
- Sending Money to the Philippines
- Paying Bills
- Buying Load
- Cashing In
- Invest
Conclusion
Registering for GCash as an OFW in Dubai is a straightforward process that allows you to manage your finances conveniently from abroad. By following the steps outlined in this guide, you can easily set up your GCash account and start enjoying its various features to send money, pay bills, buy load, and more. GCash provides a reliable and efficient way to stay connected with your financial needs back home in the Philippines.
Read Next: How to be A Successful OFW in Dubai